If you have a Hostinger hosting plan, you can easily create a subdomain under your main domain. This is a great way to build more websites and gain experience.
Let’s say you have a blog website where you publish articles. With your existing hosting plan, you can create multiple websites using subdomains. That’s what we’re going to do now — create a subdomain.
What is a Subdomain?
A subdomain is a domain name added at the beginning of your main domain. It serves as a section of your main domain that helps you organize and separate different parts of your website or services.
For example, if your domain is **education.com**, a subdomain could be something like **blog.education.com**. You just add a prefix (like “blog”) before the main domain name.
Step-by-Step Guide to Create a Subdomain and Install WordPress
Log in to your Hostinger dashboard.
If you have more than one hosting plan, choose the one where you want the subdomain to be created and click **Manage**.
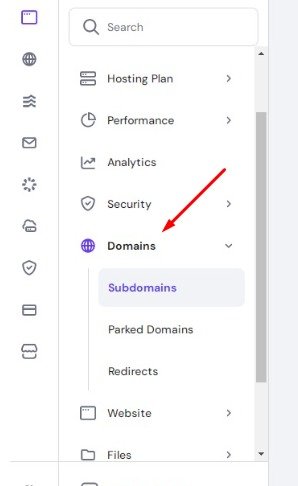
From the left sidebar, click **Domains**, then click on **Subdomains**.
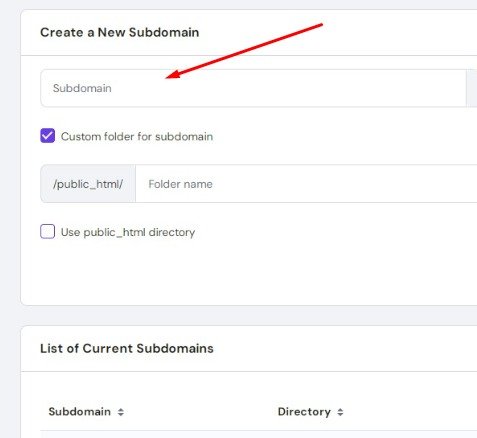
Enter a name for your subdomain. (For example: **blog** to create **blog.example.com**
Tick the checkbox to create a custom folder for the subdomain, and name the folder (you can use the same name as the subdomain — e.g., **blog**).
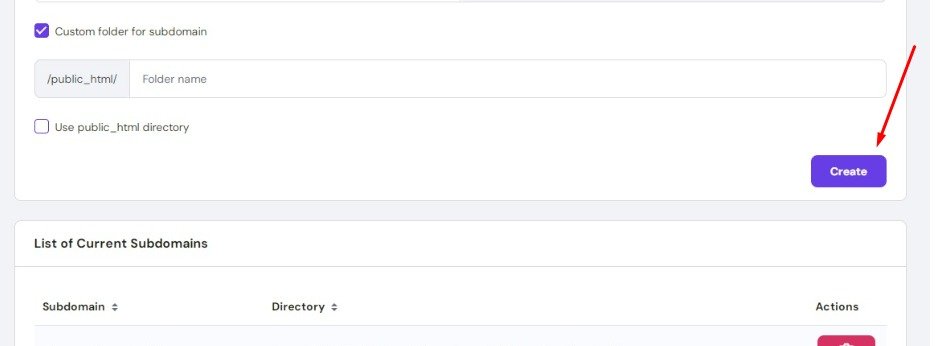
Click **Create**.
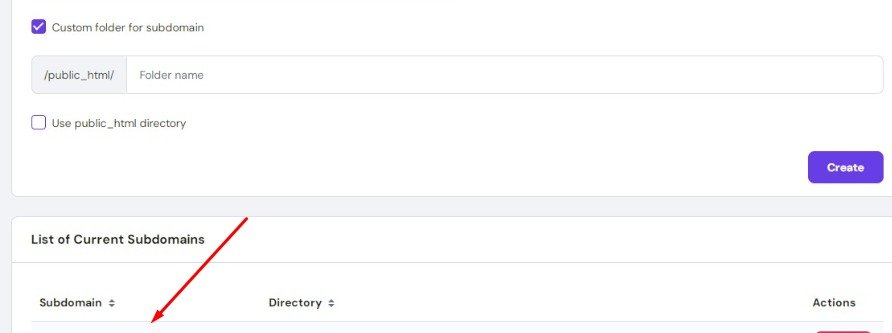
Once created, you’ll see your new subdomain listed under the “Current Subdomains” section.
Go back to your Hostinger dashboard and Install WordPress (or another CMS if you prefer) on Your Subdomain. This allows you to manage and design your subdomain just like a regular website.